Welcome to a whimsical Easter tradition: how to make Easter Bunny footprints! Adding a touch of magic to Easter morning, making bunny footprints is a delightful activity for families. Follow these simple steps to craft adorable tracks, bringing joy and excitement as children discover evidence of the Easter Bunny’s visit.
Is The Easter Bunny Real?
The Easter Bunny, a beloved figure in Easter folklore, is not a real, living creature but rather a symbol of the holiday’s traditions. Originating from German folklore, it represents fertility, renewal, and the arrival of spring.
While the Easter Bunny isn’t a tangible being like a rabbit, Gift Guides believes its presence adds magic and excitement to Easter celebrations, particularly for children who enjoy the tradition of hunting for Easter eggs and receiving baskets filled with treats.
How To Make Easter Bunny Footprints?
Besides gift baskets for Easter, you can discover a whimsical Easter tradition with Easter Bunny footprints tutorial. Follow simple steps to create adorable tracks, adding magic to Easter morning for an unforgettable family experience.
Materials To Prepare For Easter Bunny Footprints DIY
When doing Easter Bunny footprints guide for your Easter gifts, properly prepare for this whimsical activity with the following materials:
- Flour:
Utilize flour as the primary ingredient for crafting the base of the footprints. Its fine texture and neutral color serve as an ideal canvas for replicating the Easter Bunny’s tracks with authenticity and detail.
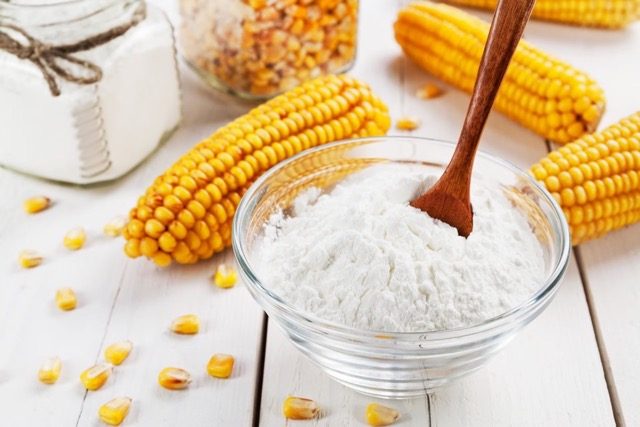
- Cornstarch:
The gift tips is to incorporate cornstarch to the mixture, contributing to a lighter and smoother consistency. This ingredient enhances the texture of the footprints, ensuring they appear soft and delicate, resembling genuine bunny tracks.
- Powdered Sugar:
During the process of how to make Easter Bunny footprints, adding powdered sugar to the mixture to achieve a snowy effect and further enhance the texture of the footprints. This ingredient not only lends a whimsical touch but also replicates the appearance of freshly fallen snow.
- Sifter or Sieve:
Employ a sifter or sieve to evenly distribute the mixture onto the desired surface. This ensures uniform coverage and precise placement of the footprints, enhancing the overall authenticity of the Easter Bunny’s trail.
- Mixing Bowl:
Utilize a mixing bowl to thoroughly combine the ingredients and create a homogeneous mixture. This facilitates the blending of flour, cornstarch, and powdered sugar, resulting in a smooth and cohesive footprint mixture.
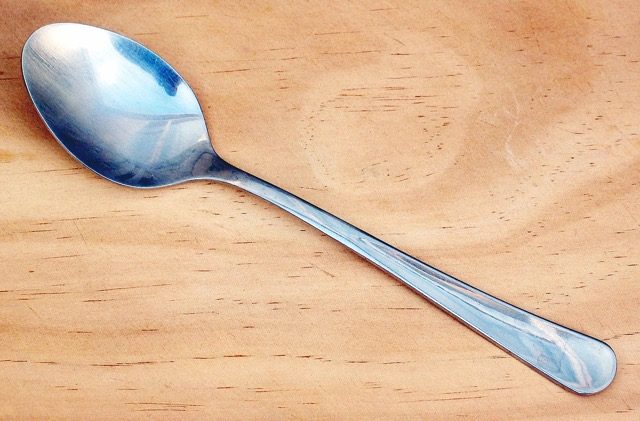
- Spoon:
During the process of how to make Easter Bunny footprints, use a spoon for scooping and stirring the mixture, allowing for easy handling and manipulation. This utensil ensures proper incorporation of ingredients and facilitates the preparation process with precision and efficiency.
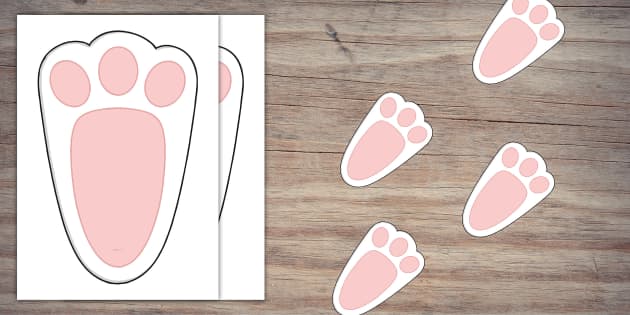
- Stencil or Template of Bunny Footprints:
Utilize a stencil or template of bunny footprints as a Easter bunny footprints DIY guide for creating the desired tracks. This tool provides a visual reference for replicating the Easter Bunny’s footprints accurately, ensuring consistency and realism in the final outcome.
Detailed Guide To Make Easter Bunny Footprints
Unlock the magic of Easter with our Easter Bunny footprints guide. Follow our step-by-step instructions to create charming footprints, adding a touch of whimsy to your holiday celebration!
- Step 1 – Prepare Your Workspace:
Start your process of how to make Easter Bunny footprints by clearing a flat, clean surface where you’ll be crafting your bunny footprints. Gather all the necessary materials, including flour, cornstarch, powdered sugar, a sifter or sieve, a mixing bowl, a spoon, and a stencil or template of bunny footprints. Having everything within reach will streamline the process and ensure a smooth workflow.
- Step 2 – Mix the Ingredients:
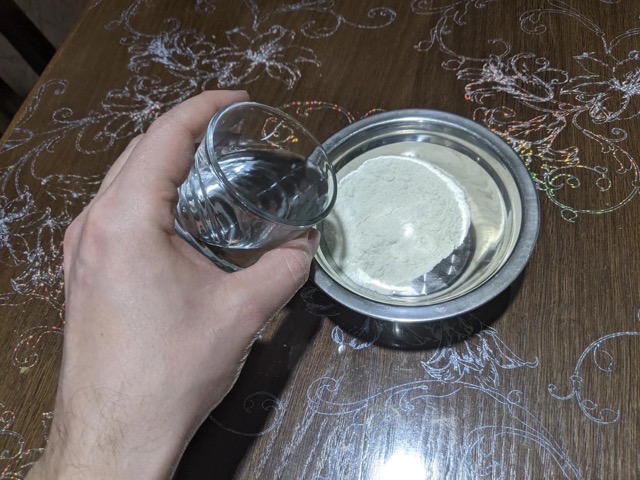
In the mixing bowl, combine equal parts flour, cornstarch, and powdered sugar. This mixture forms the base for your bunny footprints, providing the right texture and consistency. Use the spoon to thoroughly stir the ingredients until they are well blended and free of any lumps.
- Step 3 – Sift the Mixture:
Next of the process of how to make Easter Bunny footprints, with the sifter or sieve, carefully sprinkle the mixture onto the desired surface where you want to create the footprints. This step is crucial for achieving uniform coverage and ensuring that the footprints appear neat and defined. Take your time to evenly distribute the mixture, paying attention to detail.
- Step 4 – Create the Footprints:
Now, it’s time to bring your bunny footprints to life. Place the stencil or template of bunny footprints onto the sifted mixture. Press down gently but firmly to transfer the footprint shape onto the surface below. Be sure to align the stencil properly to achieve accurate and consistent footprints.
- Step 5 – Remove the Stencil:
Once you’ve pressed the stencil into the mixture, carefully lift it away to reveal the bunny footprints underneath. Take a moment to inspect the footprints and make any necessary adjustments to their shape or depth for a more realistic appearance. This step ensures that your footprints look convincing and authentic.
- Step 6 – Enhance Detail (Optional):
For an extra touch of realism in the process of how to make Easter Bunny footprints, consider using a spoon or small tool to add texture or refine the footprints further. You can gently carve out additional details, such as toe imprints or indentations, to make the footprints appear more lifelike. This optional step adds depth and dimension to your creations.
- Step 7 – Let it Set:
Allow the bunny footprints to set and dry for a few minutes. This gives the mixture time to solidify and maintain its shape, ensuring that the footprints remain intact when touched or admired. Exercise patience during this step to achieve the best results and preserve the quality of your work.
- Step 8 – Display and Enjoy:
Once the footprints have dried, it’s time for the final stage of how to make Easter Bunny footprints. Place the bunny footprints along pathways, doorways, or leading to Easter baskets for a magical touch. Step back and enjoy the joy and excitement on the faces of your loved ones as they discover evidence of the Easter Bunny’s visit. Your efforts are sure to create cherished memories for years to come!
Best Easter Activities For Kids
Get ready for some egg-citing Easter fun with these engaging activities for kids! From egg hunts to crafts, these ideas are sure to keep children entertained and in the holiday spirit:
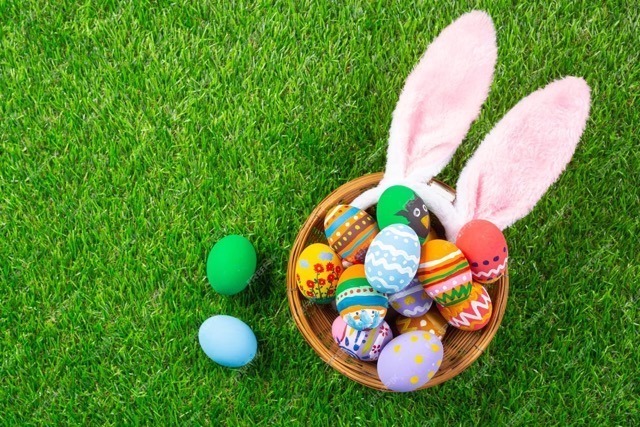
- Easter Egg Hunt:
Ignite excitement by organizing an exhilarating egg hunt in your backyard or local park. Hide a plethora of colorful eggs in various nooks and crannies, providing children with an exhilarating challenge.
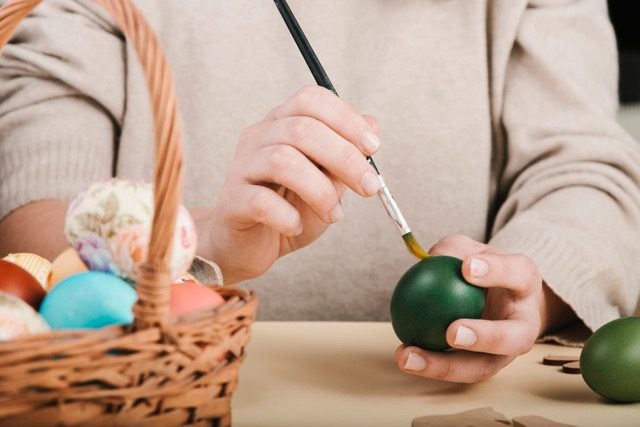
- Egg Decorating:
Beside teaching how to make Easter Bunny footprints, foster kids’ creativity by setting up a vibrant station brimming with hard-boiled eggs and an array of decorating supplies. From paints and markers to stickers and glitter, kids can unleash their imagination onto each egg.
- Bunny Crafts:
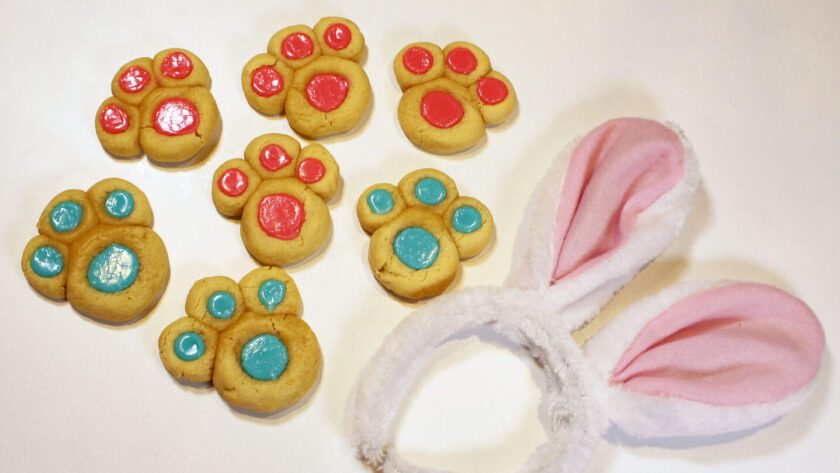
Engage in delightful bunny-themed crafts, from crafting paper plate masks to sewing adorable sock bunnies or fashioning bunny ears headbands. These projects spark imaginative play and artistic expression.
- Easter Basket Making:
Encourage individuality as kids design and assemble their personalized Easter baskets. With colorful paper, ribbons, and embellishments at their disposal, they can create a masterpiece before filling it with treats.
- Spring Scavenger Hunt:
Foster exploration by curating a list of spring-themed treasures for kids to seek outdoors in the process of how to make Easter Bunny footprints. From blooming flowers and buzzing insects to chirping birds, this hunt invites discovery and appreciation of nature.
- Storytime:
Cultivate a cozy atmosphere as children gather for an enchanting storytime session. Delve into Easter-themed books and tales brimming with adventures starring bunnies, chicks, and the wonders of spring.
- Easter Crafts:
Keep little hands occupied with an array of Easter crafts, from crafting paper flowers to adorning wooden eggs or creating vibrant spring-themed paintings. These activities inspire creativity and provide delightful mementos of the season.
Conclusion
In conclusion, how to make Easter Bunny footprints is a magical way to add excitement to the holiday. With simple ingredients and a few steps, you can craft charming tracks that delight children and bring the Easter Bunny’s visit to life. Enjoy the wonder and joy of Easter!